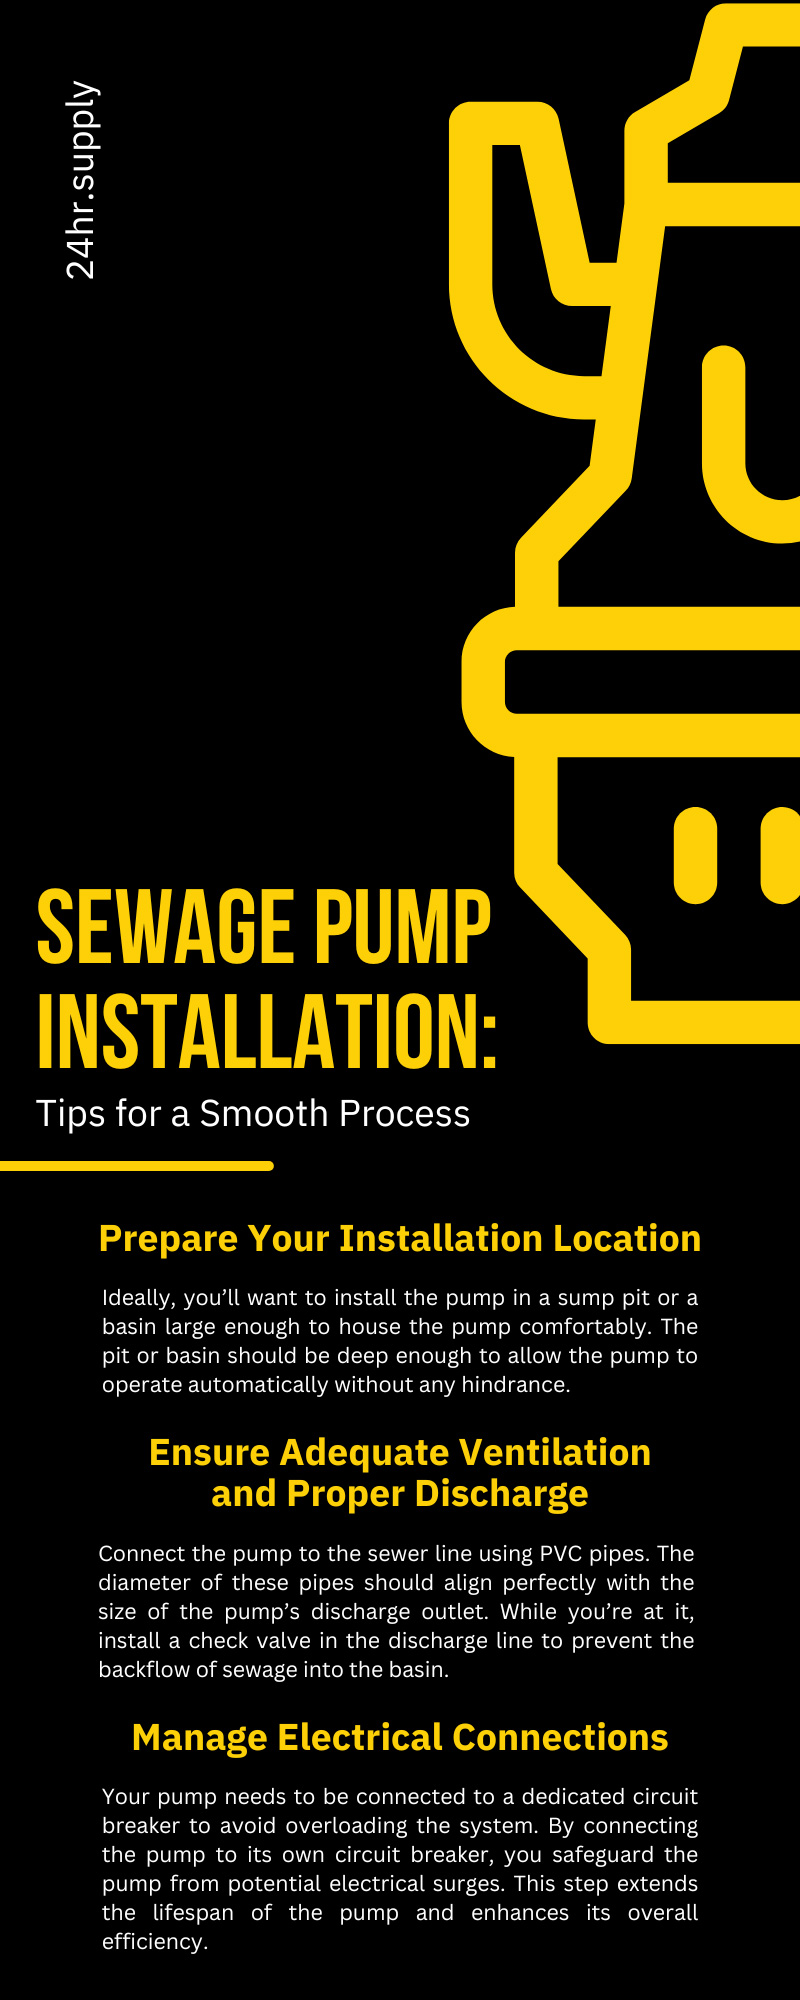
Sewage Pump Installation: Tips for a Smooth Process
A hardworking sewage pump is a crucial component of any plumbing system, though it often goes unnoticed if it works properly. This device is particularly important for efficient waste management in homes and commercial buildings where the sewage system sits below the city’s sewer line. This handy guide to sewage pump installation will provide practical tips to ensure a smooth and trouble-free process.
Whether you’re a seasoned plumber looking to brush up on your skills or a newcomer to the profession, 24hr Supply will guide you through each step. From selecting the right pump to handling the electrical connections, we’ll cover everything you need to know. By the end of this guide, you’ll have a thorough understanding of the process and be well-equipped to handle your sewage pump installation project.
Choose an Appropriate Pump
The process of installing a sewage pump begins with a little shopping. You’ll need to select a pump that fits your specific needs, whether you’re working on a residential or commercial project. Your decision should be based on several factors, such as:
- Total volume of waste the pump needs to manage
- Distance the waste needs to travel
- Dimensions of the sewer lines you’re connecting the pump to
There are two primary types of pumps available on the market: grinders and solids-handling pumps.
Grinder Pumps
These sewage pump systems are designed to handle smaller volumes of waste and are ideal for relatively short distances. They are equipped with short, sharp blades that cut into the waste and, as the name implies, grind up the solids before pumping them into the sewer line.
Solids-Handling Pumps
Sewage pumps that handle solids have a much larger capacity and can pump waste over longer distances. A robust solids-handling pump works well for apartment complexes and commercial buildings that see a great deal of waste every day.
Prepare Your Installation Location
Once you’ve purchased the right pump for your waste management needs, find and prepare a proper location to install it. Make sure the designated area is clean and free of any debris or dirt that might hinder the operation of the pump.
Ideally, you’ll want to install the pump in a sump pit or a basin large enough to house the pump comfortably. The pit or basin should be deep enough to allow the pump to operate automatically without any hindrance.
Ensure Adequate Ventilation and Proper Discharge
Once your sump pit or basin is ready for installation, check to make sure there’s enough ventilation and discharge space for the pump to function.
Connect the pump to the sewer line using PVC pipes. The diameter of these pipes should align perfectly with the size of the pump’s discharge outlet. While you’re at it, install a check valve in the discharge line to prevent the backflow of sewage into the basin.
Manage Electrical Connections
Your pump needs to be connected to a dedicated circuit breaker to avoid overloading the system. By connecting the pump to its own circuit breaker, you safeguard the pump from potential electrical surges. This step extends the lifespan of the pump and enhances its overall efficiency.
Use a ground fault circuit interrupter (GFCI) for an added layer of safety. A GFCI works by detecting any imbalance between the outgoing and incoming currents. When it detects an imbalance, which could be caused by a current leak or a person touching a live wire, it quickly shuts off the power supply. By incorporating a GFCI into the electrical connections, you elevate the safety of the pump and that of the people who may come into contact with it.
Remember:
Turn off the power supply before you do anything involving electrical connections to avoid dangerous accidents. If you’re unsure of your ability to work with these circuits, enlist an electrician to help you.
Install the Sewage Pump and Float Switch
Once it’s time to install the pump itself, take care to place it firmly on a level surface at the bottom of the basin. That pump is the heart of the overall system, responsible for moving wastewater from the basin to the sewer lines or septic tank. Meanwhile, the float switch acts as the brains of the operation, triggering the pump to start or stop based on the water level in the basin.
Carefully place the sewage pump at the bottom of the basin. The sump pit or basin needs to be deep enough to allow the pump to operate automatically. A solid and level surface prevents tilting or instability, which could hamper the pump’s performance.
Next, install the float switch. Position it in such a way that it can move freely without any obstructions, as it operates automatically based on water levels in the basin.
Test the System
Now that your sewage pump and its accoutrements are firmly installed in the sump pit or basin, run some tests to make sure everything functions correctly.
First, fill the basin with water to simulate the conditions under which the sewage pump will operate. Use a hose or any available water source to gradually fill the basin, and watch closely as the water level rises. Pay particular attention to the float switch to make sure it kicks into action automatically. Once the float switch flips on, the pump should start moving water out of the basin and into the discharge pipe.
Next, check the discharge line to confirm that the water is being pumped out effectively. The water should flow steadily; signs of weak flow or no flow at all could indicate a problem with the pump or the connections.
Once you’ve confirmed that the pump is discharging water properly, watch its operation as the water level in the basin decreases. The pump should continue running until the water level drops below the point set by the float switch. At that point, the pump should switch off automatically, signaling the end of its operation cycle.
While every sewage pump installation presents its own unique challenges, these tips for a smooth process offer a solid foundation for success. Whether you’re a seasoned professional or a first-time installer, following these tips can help you navigate the process with confidence. Remember, the key lies not just in knowing what you do, but understanding why it matters.

Recent Posts
-
What Causes Pipe Corrosion?
Pipe corrosion occurs when metal reacts with water, oxygen, and minerals over time. Factors that spe …Feb 2nd 2026 -
Commercial vs. Residential Plumbing: 15 Key Differences You Need to Know
Plumbing might seem straightforward at first glance, but residential and commercial systems are fund …Feb 2nd 2026 -
What Is a Circulator Pump and How Does It Work?
Water needs to keep moving efficiently in plumbing and HVAC systems, and that’s where a circulator p …Feb 2nd 2026


