Step-by-Step Guide To Installing a Commercial Water Heater
Installing a commercial water heater is a big project, especially when it directly impacts the comfort and efficiency of your business operations. A reliable source of hot water keeps everything running smoothly, whether you’re managing a restaurant, hotel, or industrial facility. But where do you start if you’re tasked with replacing or installing one of these hefty appliances?
This guide breaks down the process into clear, manageable steps. You’ll learn how to prepare for installation, handle connections safely, and avoid common pitfalls that lead to costly delays or repairs. By the end, you’ll understand the tools and techniques necessary and learn tips to keep the system operating efficiently for years to come.
Installing something as essential as a commercial water heater doesn’t need to feel like a massive hurdle. Let’s dive into how to save time, avoid mistakes, and get the job done right!
Step One: Assess Your Needs and Choose the Right Water Heater
Determine Your Business’s Hot Water Requirements
Understanding your business’s water needs is the foundation of choosing the right system. For businesses like restaurants, hot water demands are often high, particularly during peak hours, while offices or smaller facilities typically use less.
Map out your daily water usage, and consider when and how much hot water is required during busy times. This step ensures your water heater can handle your needs without interruptions.
Explore Types of Commercial Water Heaters
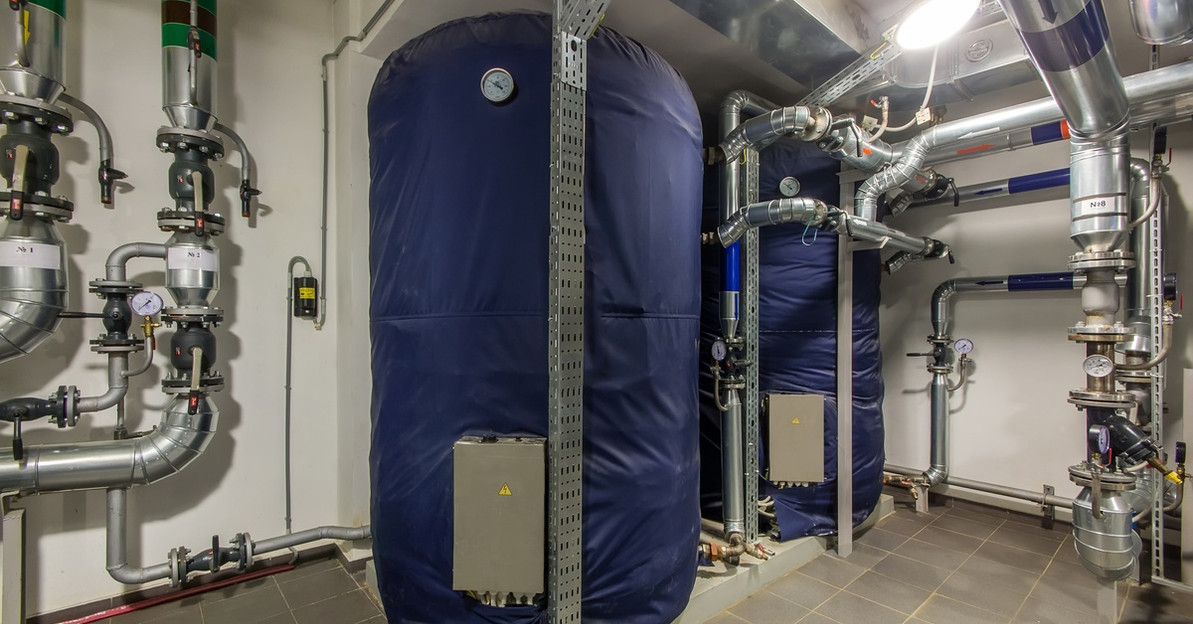
The most common commercial water heaters generally come in two main categories: tank and tankless. A tank water heater stores a large volume of ready-to-use hot water, which is ideal for consistent, high-demand needs. Tankless water heaters, on the other hand, heat water on demand, saving space and energy, but they can struggle with simultaneous heavy usage across multiple outlets.
Gas and electric models further diversify your options. Gas heaters are quicker and often more economical over time, while electric models are easier to install and work well in areas without natural gas lines.
Consider Energy Efficiency and Costs
Energy efficiency is a game-changer when it comes to long-term savings. Water heaters with an Energy Star rating reduce energy bills by a great margin!
Capacity also matters. Choose a unit that meets your hourly water usage without downtime, but avoid overspending on unnecessary capacity. Balance up-front costs with operational efficiency to get the most out of your investment.
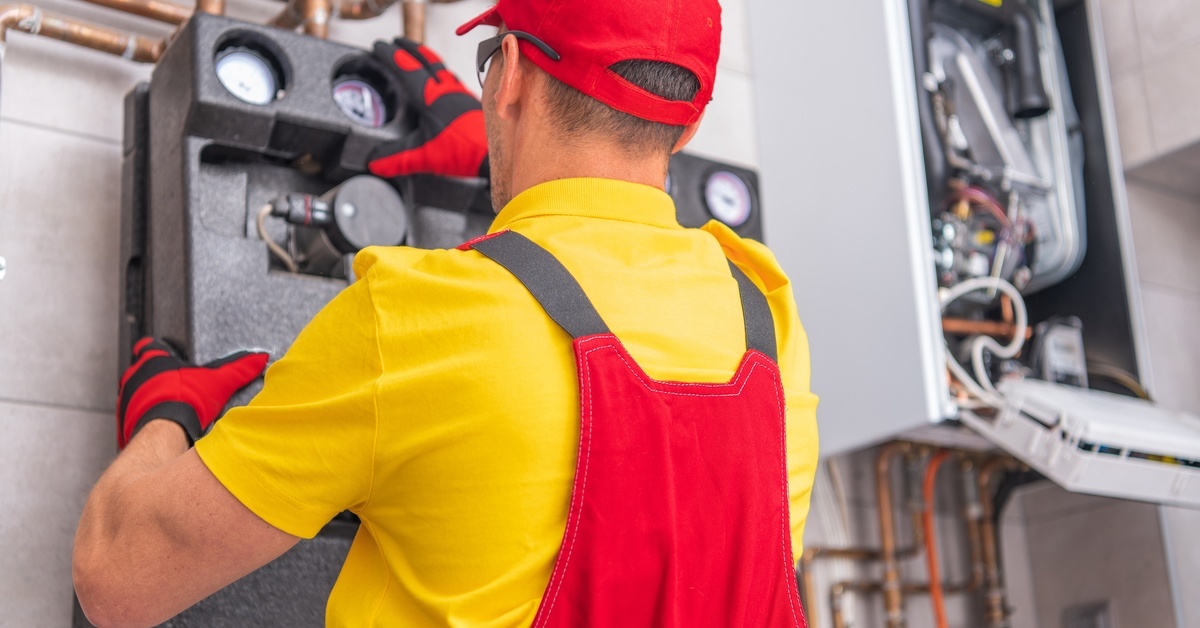
Step 2: Prepare the Workspace for Installation
Shut Off Utilities
Start by cutting off all utilities connected to the old water heater or installation area. Turn off the water supply and disconnect the electricity or gas to eliminate risks during the installation process. Double-check that all systems are completely offline before you proceed.
Clear the Installation Area
Remove clutter around the designated spot and create enough space to move freely. Ensure the area is well-lit to avoid mishaps. If you need to remove an old water heater, plan to dispose of it in accordance with local regulations before bringing in the new water heater.
Gather Essential Tools and Materials
Adjustable wrenches, pipe cutters, connectors, and thread-sealing tape are staples for this job. Having everything within arm’s reach avoids delays. It’s also a good idea to read through your new water heater’s manual to confirm if any specialized tools are required.
Step 3: Install the Water Heater
Position the Water Heater
Carefully place the unit in the selected location, following the installation manual and adhering to local safety codes. For floor-mounted units, ensure the base is stable. Wall-mounted heaters need secure brackets to hold their weight. Double-check spacing requirements for adequate ventilation and access.
Connect the Pipes
Attach the inlet and outlet pipes using flexible connectors for easy adjustments later. Seal the threads with pipe tape to create tight, leak-proof connections. Avoid over-tightening, which can damage threads or lead to problems when the system is pressurized.
Set Up Gas or Electrical Components
For gas heaters, attach the ventilation system to manage exhaust safely. Use materials that meet fire and safety regulations to protect the installation's integrity.
For electric models, follow the wiring instructions to connect the heater properly. Double-check voltage compatibility to prevent electrical failures.
Watch Out for Common Errors
Improper sealing, skipped tape applications, and unsecured connections are some of the most common installation mistakes. Addressing potential missteps during the installation process can save you from costly repairs.
Step 4: Test and Calibrate the System
Restore Utilities Gradually
Turn the water supply back on and allow the system to fill slowly. Reactivate the gas or electricity, making sure you follow proper procedures to protect the unit from surges and damage. These steps help the system transition smoothly into operation.
Check for Leaks
Once powered on, inspect all connection points for signs of leaks. Focus on pipe joints, the pressure valve, and any tightened seals. Even small drips can indicate installation errors that need addressing before you move forward.
Adjust Water Heater Settings
Fine-tune the water heater’s performance by adjusting the temperature between 120 and 140 degrees Fahrenheit. This range prevents scalding while balancing energy efficiency. Use the heater’s guidelines to modify pressure settings as needed, ensuring optimal performance while protecting the system from wear.
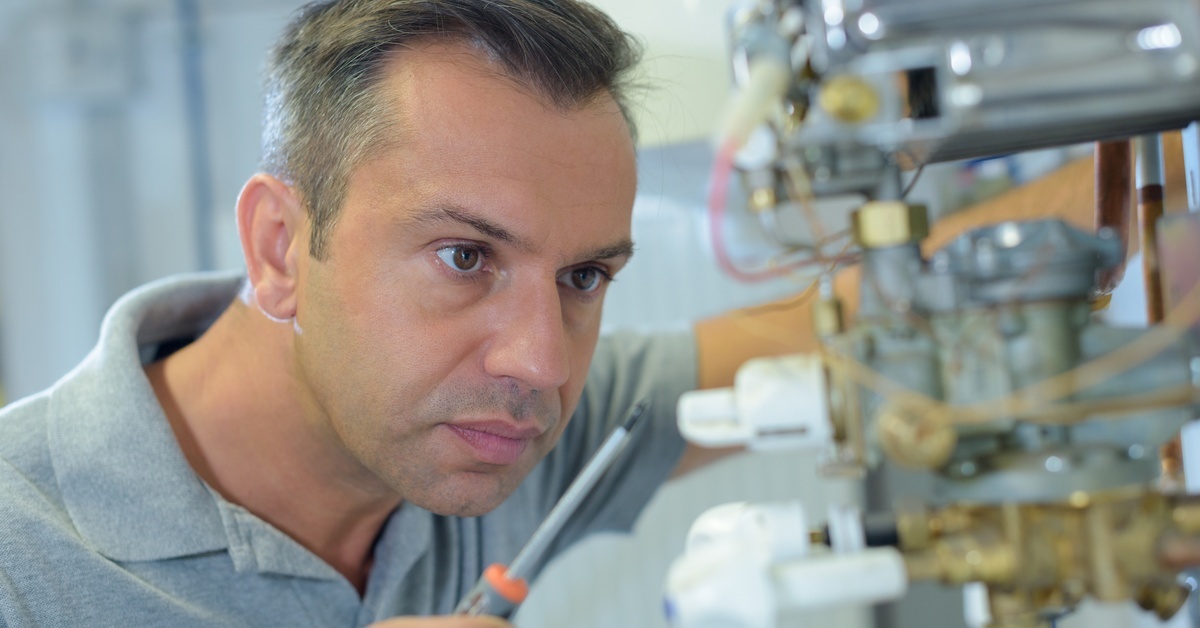
Step 5: Wrap-Up and Maintenance Tips
Insulate Pipes for Energy Savings
Install insulation around accessible hot water pipes to reduce heat loss. This easy upgrade simultaneously saves energy and delivers hot water more quickly to outlets, increasing the system’s efficiency.
Commit to Routine Maintenance
For tank systems, flush out sediments annually to improve performance and prevent damage. Tankless units benefit from periodic descaling to combat mineral deposits from hard water. Check anode rods in tank systems periodically, as they help fight corrosion.
Address Common Issues Promptly
Familiarize yourself with DIY fixes for minor problems. If the water output feels too low, the thermostat might need an adjustment. Strange noises often signal trapped air or sediment buildup. Prompt attention to these signs prevents bigger headaches down the road.
Now What?
Following these steps to install your commercial water heater can feel like a real win, but the benefits go far beyond that final connection. Think about what this means for your business. A properly installed and maintained water heater is a key player in keeping your daily operations running smoothly. From delivering endless hot showers at a hotel to keeping the dishes sparkling clean at your restaurant, commercial water heaters are up to the job.
Now, it’s all about staying a step ahead. Regular checkups and simple tweaks, such as insulating pipes or adjusting settings, help you avoid surprises down the road. When you’re proactive with maintenance, you’re not just maximizing the lifespan of your equipment; you’re also reducing costs and creating a more efficient work environment.
With that in mind, the next time you hear the rush of hot water, you’ll know it’s more than just a flow of water; it’s your hard work paying off. Keep that momentum going, and your business will thank you for it.
Recent Posts
-
What Causes Pipe Corrosion?
Pipe corrosion occurs when metal reacts with water, oxygen, and minerals over time. Factors that spe …Feb 2nd 2026 -
Commercial vs. Residential Plumbing: 15 Key Differences You Need to Know
Plumbing might seem straightforward at first glance, but residential and commercial systems are fund …Feb 2nd 2026 -
What Is a Circulator Pump and How Does It Work?
Water needs to keep moving efficiently in plumbing and HVAC systems, and that’s where a circulator p …Feb 2nd 2026


