How to Use a Tube Cutter for Clean, Accurate Cuts Without Damaging the Tubing
When you need to shorten, repair, replace, or prepare tubing, the cut has to come out straight and clean. A crushed section or rough edge can create problems once you move on to the fitting.
Good tube cutter use depends on the cutter you choose, the pressure you apply, and how well you finish the tube afterward. We’ll walk through the whole process so you can make the cut with more confidence.
What Is a Tube Cutter Used For
A tube cutter is used to make controlled, square cuts through tubing before the tube is repaired, fitted, or installed. In simple terms, the tube cutter meaning refers to a hand or powered tool designed specifically for tubing dimensions and materials.
With a standard rotary model, a cutting wheel presses against the tube while supporting rollers help hold it in position as the tool turns. Depending on the model, tube cutters are used to cut copper, aluminum, stainless steel, and certain types of plastic tubing.
You will commonly see them in plumbing, HVAC, refrigeration, maintenance, and other trades where the quality of the tube end matters.
Choosing the Right Tube Cutter Before You Start
The first thing we check is whether the cutter actually suits the tubing in front of us. Size alone does not tell the whole story.
The material, outside diameter, wall thickness, and amount of working clearance all affect your choice. A cutter may fit around a tube and still have a cutting wheel that is unsuitable for that material.
Here are the main combinations to consider:
| Tube or Situation | Cutter Type to Consider | What to Check |
|---|---|---|
| Copper tubing | Standard rotary or close-quarters model | Diameter range and cutting-wheel rating |
| Stainless steel tubing | Cutter and wheel specifically rated for stainless | Material rating, wheel condition, tube dimensions |
| Soft plastic tubing | Blade-style or other material-rated cutter | Manufacturer’s listed materials |
| Restricted workspace | Mini, C-style, close-quarters, or self-feeding model | Required clearance and feed mechanism |
So, a tube cutter for copper may differ from a tube cutter for stainless steel, while tube cutter plastic applications may call for a blade-style design. These differences are why we recommend checking the tool specifications before starting.
Automatic and spring-loaded tube cutter tools can also maintain cutting pressure themselves. In that case, follow the manufacturer's feed instructions rather than treating the tool like a standard screw-feed cutter.
If you are building out the rest of your kit, our guide to essential plumbing tools for contractors covers other tools that often belong in the same setup.
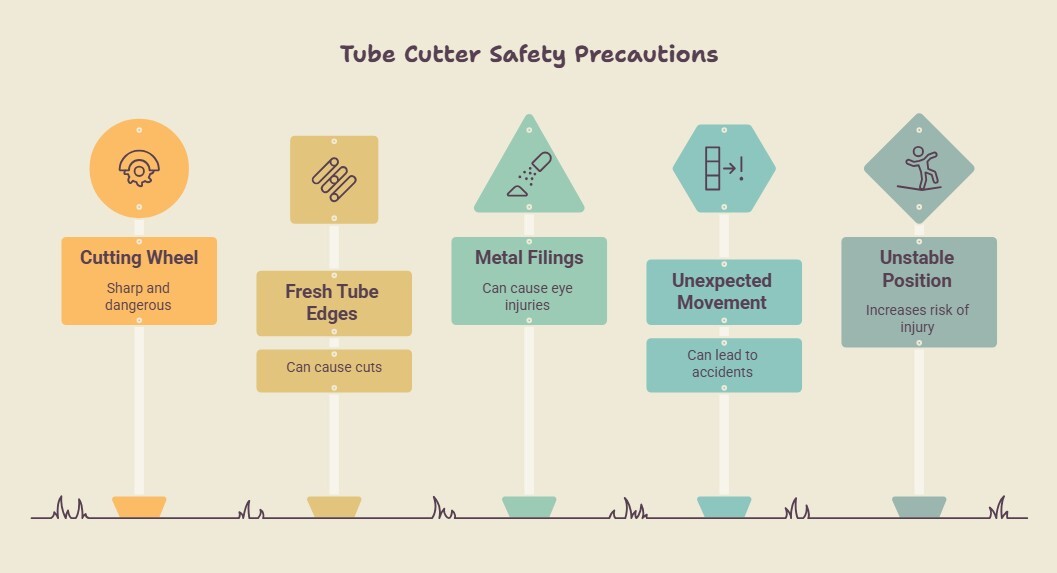
Tube Cutter Safety Before Cutting
Tube cutting is straightforward once you know the routine, but the cutting wheel, fresh tube edges, and metal filings still deserve some respect. A construction injury study of 176 injured plumbers and sprinkler fitters found that 29% had lacerations, while eye injuries affected 19%.
So, these are the basic precautions we recommend:
- Wear safety glasses during cutting and deburring.
- Use suitable hand protection and keep your fingers clear of the wheel and fresh-cut edges.
- Inspect the cutter wheel and feed mechanism before use.
- Support the tubing so it cannot move unexpectedly.
- Work from a stable position and follow the cutter manufacturer's instructions.
How to Use a Tube Cutter
To use a tube cutter, align the cutting wheel with your mark, establish a clean groove, and then deepen the cut with small pressure adjustments until the tube separates.
Most poor cuts start when someone rushes those middle steps. We prefer a slower approach because it gives you time to catch bad alignment before the groove gets too deep.
Here are the steps we follow.
1. Inspect the Tube and Confirm the Cut Location
Look over the section you plan to cut for dents, scratches, flat spots, or an out-of-round shape. Existing damage can make the cutter track poorly or create trouble when the tube reaches the fitting.
For a tube cutter copper job, we also confirm the finished length and any insertion or socket depth required by the fitting.
2. Measure and Mark the Tube
Measure the required length carefully and place a clear mark where the wheel needs to travel.
Keep fitting depth in mind as you measure. If you only measure the visible gap between fittings, the finished piece may end up too short once part of the tube slides into the connection.
3. Position the Cutting Wheel on the Mark
Open the cutter enough for the tube to sit between the cutting wheel and supporting rollers. Then bring the wheel directly onto your mark and keep the cutter square to the tube.
From there, tighten until the wheel makes firm contact. The tube should still hold its normal round shape.
4. Rotate the Cutter to Establish the First Groove
Turn the cutter completely around the tube and let the wheel establish one continuous groove around the circumference.
Watch that first groove closely. If it begins to spiral or wander away from itself, the cutter may have started out of square. Correct the alignment before the groove becomes deeper.
5. Tighten Gradually as the Cut Deepens
Once the groove is established, continue rotating the cutter and advance the wheel a little at a time. Small adjustments give the cutting wheel time to work through the wall without squeezing the tube out of shape.
One Swagelok hand-cutter procedure calls for a 1/16-turn adjustment after initial contact. For harder tubing, its instructions call for two rotations before another 1/16-turn adjustment. That is a model-specific example, so your own cutter may use a different feed amount.
We avoid aggressive tightening because excess pressure can flatten, constrict, or distort thin-wall tubing.
6. Deburr the Inside and Outside Edges
After the tube separates, inspect both the inside diameter and outside diameter for raised material.
A built-in reamer or separate deburring tool can remove those burrs. Work carefully so you remove the rough edge without taking away unnecessary tube material. Internal burrs can interfere with flow, while external burrs may make fitting insertion harder.
7. Clean and Inspect the Finished Tube End
Once the burrs are gone, remove loose filings and debris with a cleaning method that suits the tube and the system. We recommend that you avoid treating water rinsing as a universal step because some systems need the tubing to remain dry and free of contamination.
Then check the finished end. It should remain round, and the cut should be square. Parker, for example, requires a prepared tube end to be square within 1 degree for one of its fitting systems, which shows how much end geometry can matter.
From there, you can prepare the connection itself. If you want more background on that next step, see our guide to how plumbing couplings connect lines.
Common Tube Cutter Mistakes to Avoid
Once you have made a few cuts, the tool usually tells you when something is off. A change in resistance, groove shape, or tube geometry is worth paying attention to.
These are the problems we would check first.
- Tube becomes flattened: Feed pressure is probably too high. Reduce how much you advance the wheel between rotations.
- Cutting takes much more force than expected: The cutting wheel may be dull, damaged, or unsuitable for the tube material.
- Groove spirals around the tubing: The cutter probably started out of square or shifted during the first rotations.
- Tube end expands or becomes heavily burred: Check the cutting wheel and reduce the feed pressure.
- Cutter binds or feels rough: Inspect the wheel, rollers, and feed mechanism before you continue.
How Can 24hr Supply Help You Choose the Right Tube Cutter?
At 24hr Supply, we can help you match a cutter to the tubing material, diameter, workspace, and cutting method your job actually calls for.
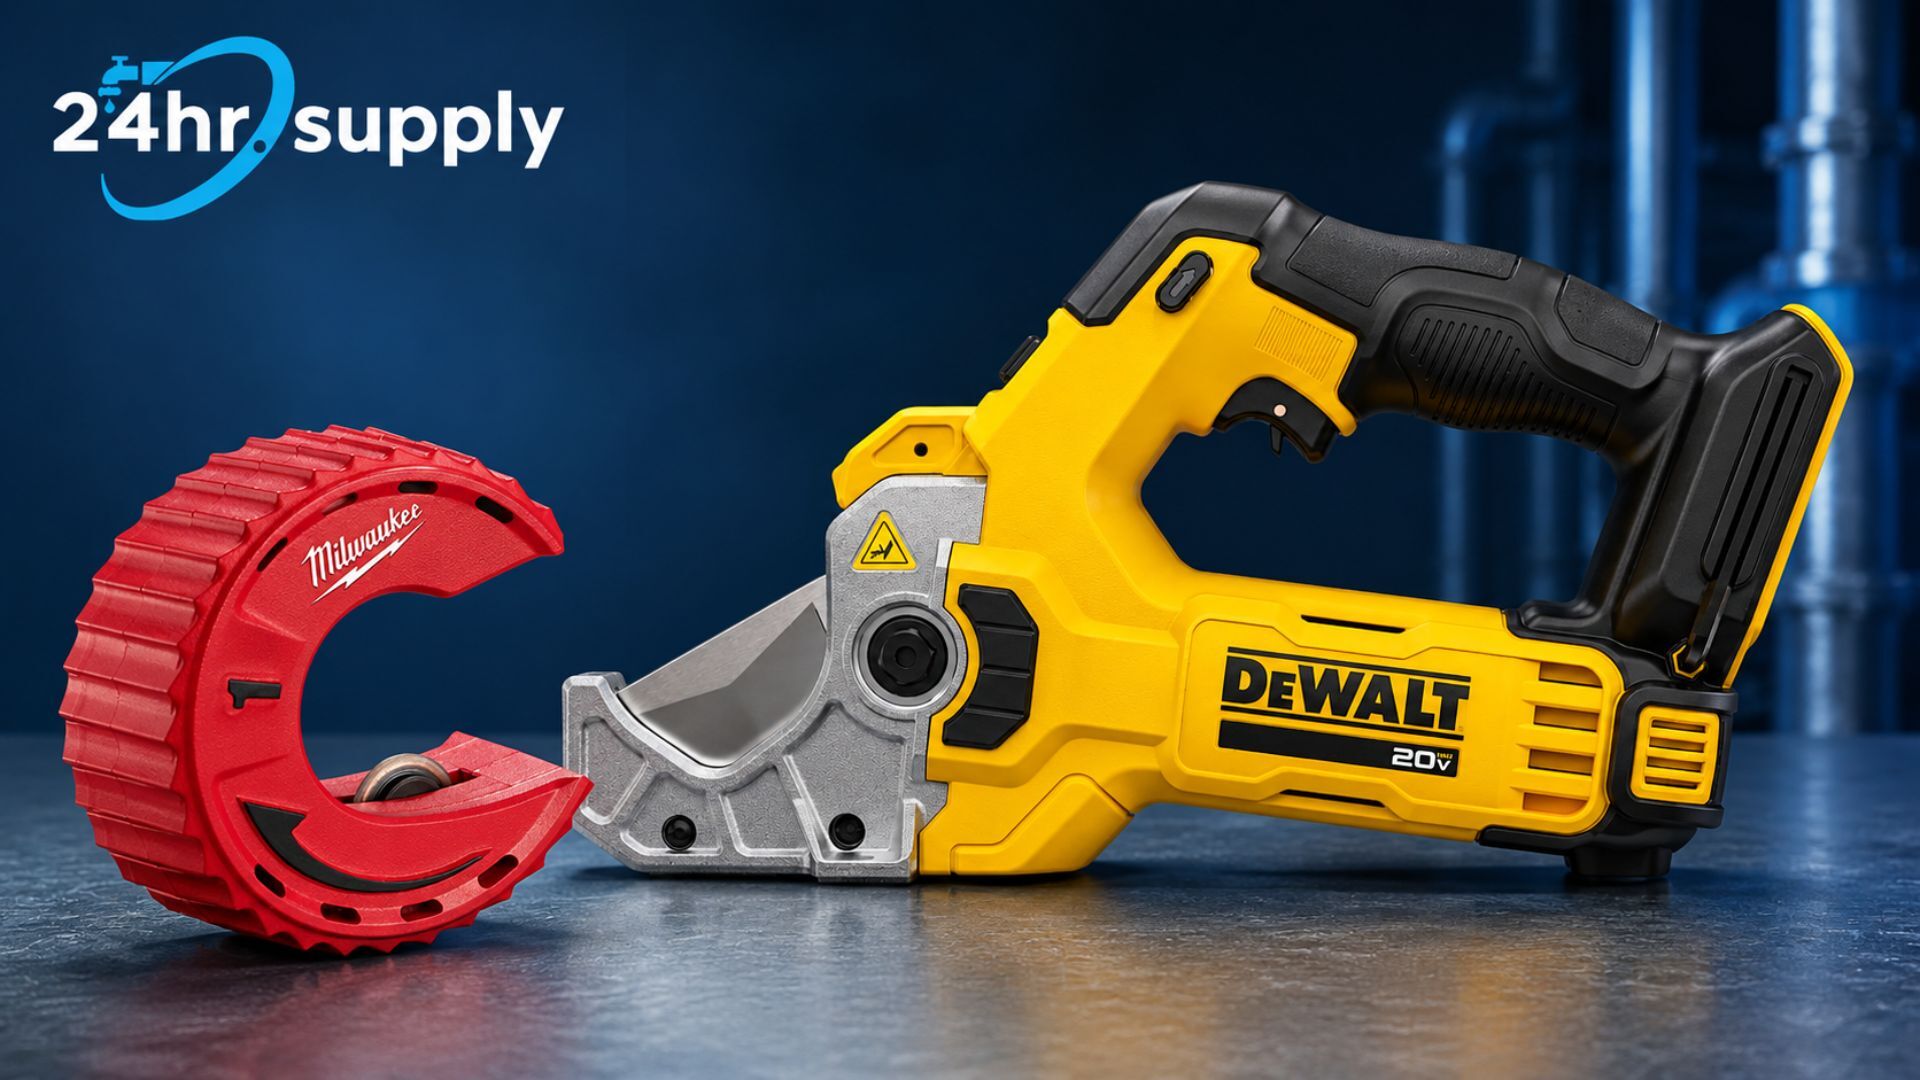
Our selection includes standard rotary models, close-quarters cutters, copper-focused options, PEX cutters, powered tools, replacement cutting wheels, and deburring equipment. So whether you need a copper tube cutter for routine plumbing work or a stainless steel tube cutter for a more specific application, you can compare product specifications before buying.
You can also review the tube cutter price, material rating, capacity, and tool design while you shop for tube cutters. And if you are unsure which model fits the job, our product information and technical support can help you narrow down the right option.
FAQs
Are Tube Cutters Better Than Other Cutting Tools?
Tube cutters are typically better when you need a controlled, square cut on tubing that matches the cutter's specifications. The best tool still depends on the material, diameter, access, connection type, and finish you need.
Is a Tube Cutter the Same as a Pipe Cutter?
A tube cutter and pipe cutter are related tools, and manufacturers sometimes use the names loosely. Their capacities can differ by material, wall thickness, and diameter, so we recommend checking the manufacturer's stated specifications before choosing one.
Will a Tube Cutter Cut PVC Pipe?
Some tube cutters can cut PVC if the tool is rated for that material and size. A tube cutter for PVC may use a blade or ratcheting mechanism, depending on the design. Before cutting, check the manufacturer's specifications to confirm that your PVC tube cutter is suitable for the pipe you are working with.
What Cutter Should You Use for PEX Tubing?
PEX tubing is usually cut with a purpose-built blade-style tool that makes a clean, square cut without crushing the material. A tube cutter for PEX should be rated for the tubing size you are working with. For most jobs, a dedicated PEX tube cutter gives you better control and a cleaner end for the fitting.
You can learn more about PEX tubing and installation tools before choosing the rest of the connection system.
Can You Use a Tube Cutter on Installed Tubing?
You can use a tube cutter on installed tubing when the system has been safely isolated, shut down, and depressurized as required. Access by itself does not make the job safe, and regulated systems may require a qualified professional.
Recent Posts
-

What Is Cavitation? A Practical Guide to Protecting Your Water Pump System
You may have seen cavitation mentioned in a pump manual or heard it during a discussion about poor p …Oct 19th 2026 -
How to Prime a Grundfos Pump: Step-by-Step Instructions for Homeowners
If your pump is running but the tap is still dry, switch it off before checking whether it needs pr …Oct 12th 2026 -
How Does a Grundfos Pump Work? Types, Controls, and Everyday Uses
Grundfos centrifugal pumps work through an electric motor that turns an impeller, transfers energy t …Oct 12th 2026